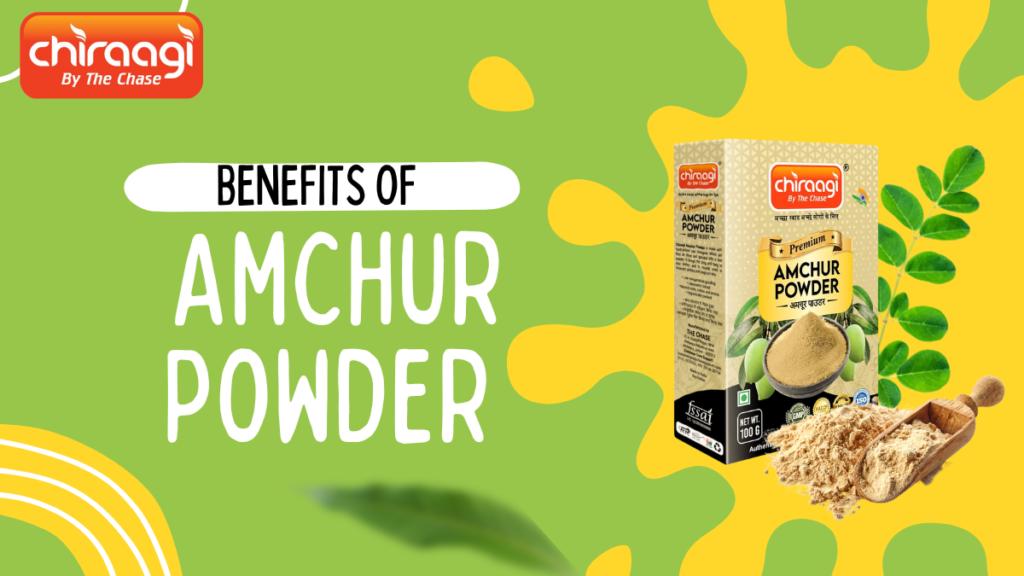
Amchur Powder Benefits for Your Spice Cabinet
Amchur Powder Benefits Spices derived from dried, unripe green mangoes are called amchur powder or mango powder. A common ingredient in Indian cooking, this tangy, somewhat sweet powder gives a flavor boost to a variety of foods. Amchur powder is more than just a flavor enhancer, though. You should definitely have it in your cabinet because it has so many health amchur powder benefits. This post will discuss the numerous advantages of amchur powder and the reasons adding it to your diet could significantly improve your health. Rich in Antioxidants Amchur powder’s high antioxidant concentration is one of its main advantages. Antioxidants support the body’s defense against free radicals, which are dangerous chemicals that can injure cells and have a role in aging and a number of diseases. Your cells can be shielded from oxidative stress by the antioxidants in amchur powder, which is derived from mangoes. This lowers your chance of developing chronic illnesses including diabetes, cancer, and heart disease. Aids in Digestion Amchur powder’s ability to aid with digestion is widely documented. It is frequently included in conventional treatments to ease constipation, acid reflux, and indigestion. Amchur powder’s enzymes aid in the more effective breakdown of food, facilitating more comfortable digestion. Furthermore, the powder’s high fiber content promotes gut health by averting problems like bloating and constipation. Including amchur powder benefits in your food can support the upkeep of a healthy digestive tract. Boosts Immunity Amchur powder is a great way to strengthen your immune system because of its high vitamin C concentration. The immune system’s ability to effectively fight off infections and diseases depends on vitamin C. Consuming amchur powder benefits on a regular basis might strengthen your body’s defenses against infections and ordinary colds. Furthermore, vitamin C encourages the synthesis of collagen, which is necessary for strong bones, tissues, and skin. Enhances Skin Health Amchur powder provides major advantages for the skin in addition to its nutritional value. Amchur powder’s high vitamin C concentration makes it a great way to improve the texture and tone of skin. Collagen formation is thought to be aided by vitamin C, keeping skin youthful and firm. Furthermore, the antioxidants in amchur powder lessen the appearance of fine lines and wrinkles by defending the skin from environmental stresses like pollution and UV rays. Your skin would appear brighter and more vibrant after using amchur powder as a natural exfoliator in face masks to get rid of dead skin cells. Promotes Weight Loss Amchur powder can be a useful ally for people trying to lose a few pounds. The powder is a great complement to a weight-loss diet because it is high in fiber and low in calories. Fiber prolongs feelings of fullness, which helps you avoid overindulging and harmful snacking. amchur powder benefits can also increase metabolism, which facilitates more effective calorie burning. Its zesty taste may liven up low-calorie meals and make eating healthy more fun. Supports Heart Health Amchur powder has a number of nutrients that are good for the heart. The powder’s antioxidants aid in lowering oxidative stress and inflammation, two conditions that increase the risk of heart disease. Furthermore, amchur powder’s fiber can help lower cholesterol and lower the risk of atherosclerosis, or hardening of the arteries. Amchur powder can help you maintain cardiovascular health and lower your chance of developing heart-related problems. Helps Manage Diabetes Moreover, those who have diabetes may benefit from amchur powder. Amchur powder’s fiber component slows down the blood’s absorption of sugar, which helps control blood sugar levels. This might lessen the likelihood of unexpected blood sugar increases following meals, which will help diabetics better control their condition. Furthermore, the antioxidants in amchur powder may help guard against diabetic consequences like kidney and nerve damage. Improves Vision Amchur powder is a great way to get plenty of vitamin A, which is necessary for healthy vision. Vitamin A aids in preventing age-related macular degeneration and night blindness in the eyes. A regular intake of amchur powder can help maintain improved eye health and lower your chance of developing age-related vision issues. Natural Detoxifier Amchur powder has the ability to assist rid your body of toxins because of its detoxifying qualities. The powder’s high fiber content helps the digestive tract rid itself of waste and impurities, which encourages total detoxification. Amchur powder’s antioxidants also assist the body’s natural detoxification processes by scavenging dangerous free radicals. Anti-Inflammatory Properties Amchur powder has natural anti-inflammatory ingredients that can aid in the body’s reduction of inflammation. Numerous health problems, such as arthritis, cardiovascular disease, and autoimmune illnesses, are associated with chronic inflammation. Inflammation can be fought and the likelihood of acquiring these problems decreased by including amchur powder in your meals. Amphur powder’s anti-inflammatory qualities can also help people with joint pain or muscular tightness, offering organic relief without the need for prescription drugs. Strengthens Bones Amchur powder’s vitamin C concentration is essential for preserving the health of your bones. The synthesis of collagen, a protein that serves as the structural basis for bones and connective tissues, depends on vitamin C. Amchur powder strengthens bones and lowers the incidence of fractures and osteoporosis by encouraging the synthesis of collagen. Alleviates Anemia A good source of iron, which is necessary for the synthesis of red blood cells, is amchur powder benefits. A low iron level can result in anemia, a disease that causes weakness, exhaustion, and dyspnea. Regular consumption of amchur powder can aid in the development of healthy red blood cells and help prevent iron deficiency. amchur powder benefits can be a natural approach to increase iron intake and enhance overall energy levels for people who have anemia or are at risk of getting it. Supports Respiratory Health Traditionally, amchur powder has been used to treat respiratory conditions like bronchitis and asthma. Natural expectorant qualities of the powder are thought to assist remove mucus from the airways, improving breathing. Furthermore, amchur powder’s anti-inflammatory qualities can aid in lowering respiratory tract irritation, relieving symptoms of ailments including asthma.