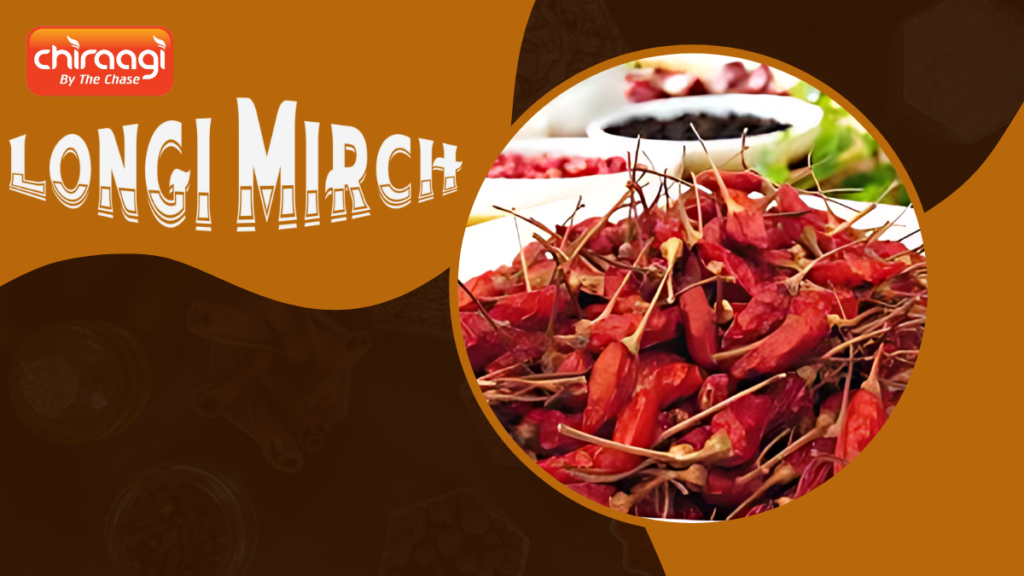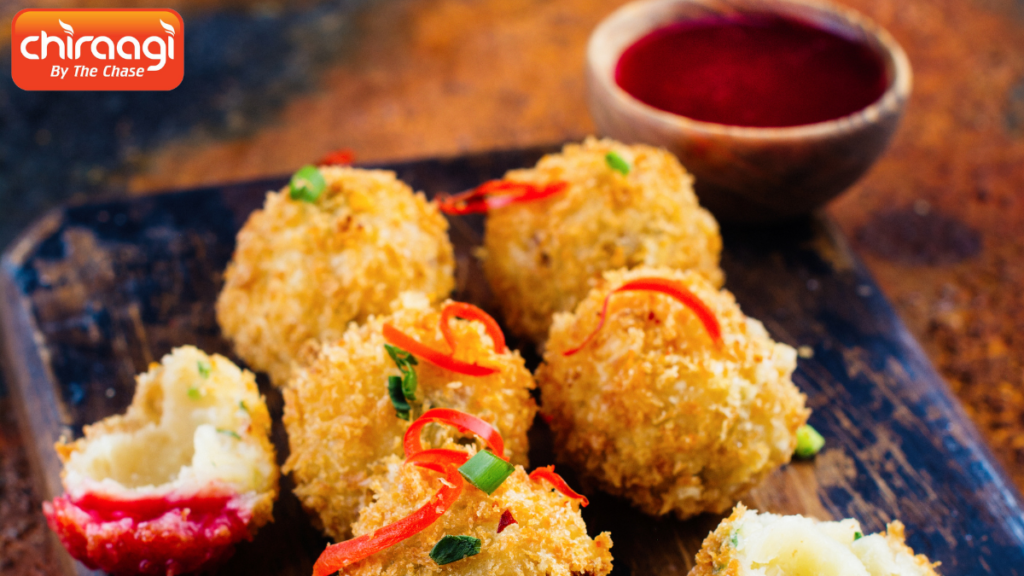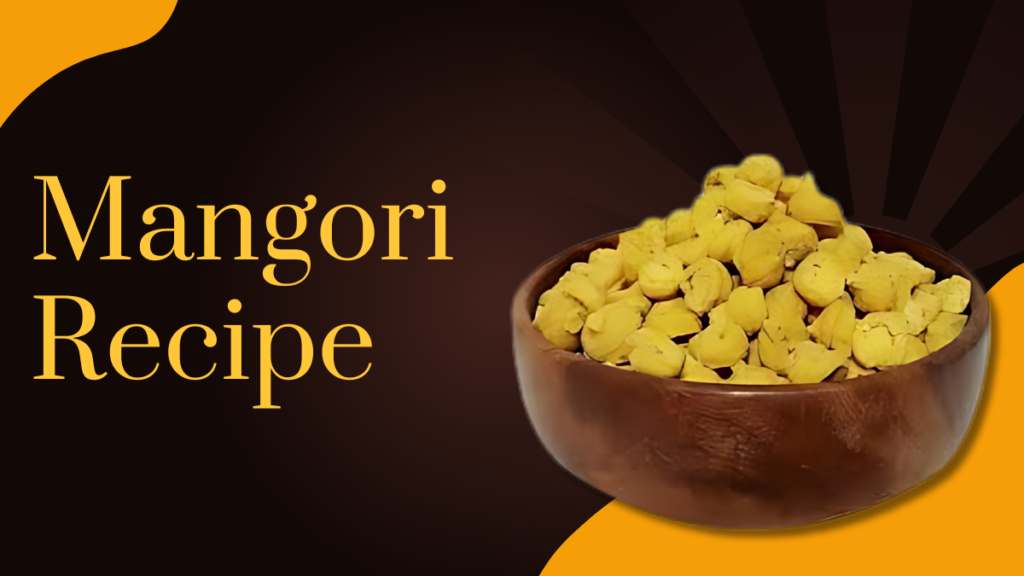
A Flavorful Indian Delight Homemade Mangori
Made with besan (gram flour) and spices, mangori is a delicious and crunchy Indian snack. Particularly in the northern parts of India, this salty delight is used in many foods to enhance their flavor and texture or just consumed with a cup of tea. Brief Introduction to Mangori Mangori, sometimes called mangodi, has been a mainstay in traditional Gujarati and Rajasthani cuisines for many years. Due to the scarcity of fresh veggies in these desert places, people came up with the creative idea of drying different items to use them later. In situations when fresh ingredients were unavailable, mangori was developed as a useful and delicious substitute. It gives food a distinctive texture and rich flavor when added to curries and gravies. Mangore is also symbolic of the ingenuity and culinary inventiveness of Indian homemakers since it is often cooked for festivals and other special events. Commonly Used Ingredients Besan, also known as gram flour, is the main component of mangori and is prepared from ground chickpeas. Besan is combined with red chili powder, cumin seeds, and turmeric to make a thick batter. After shaping the batter into little pieces, it is sun-dried and then cooked till golden crisp. Dried fenugreek leaves or sesame seeds are occasionally used to improve the flavor. Because besan is high in fiber and protein, these components enhance the flavor while also offering nutritional advantages. Traditional vs. Modern Variations The batter must be sun-dried, which can take many days, in order to make mangori traditionally. This process enhances the flavors of the mangori while also preserving it. However, these days, dehydrators and ovens help speed up the drying process. Modern recipes can also use different herbs and spices to provide distinct flavor profiles; some even try baking or air-frying the Mangore for a healthier take. These versions show how this beloved snack has evolved over time, accommodating changing preferences and lifestyles even while the basic components stay the same. Why Make Mangori at Home? Freshness and Quality Control You may be sure to use the freshest ingredients and uphold excellent standards when you make mangori at home. You can choose the best spices and besan, staying clear of any additions or preservatives that might be in store-bought varieties. You can ensure that every piece is made to perfection by keeping an eye on the entire process at home, from mixing the batter to frying the mangori. Customization of Flavors and Ingredients Tailoring mangori to your preferences is one of the biggest benefits of preparing it at home. To make a special version that appeals to your palate, you can experiment with flavors, add your favorite herbs and spices, and change the degree of spice. To give your Mangore a unique twist, you could, for instance, add a dash of sesame seeds or a hint of garlic. Because of its adaptability, homemade mangori is a customizable and adaptable snack. Cost-Effectiveness and Health Benefits Mangori is relatively inexpensive to make at home. The components are cheap and easily accessible, and the preparation method is simple and needs little equipment. Furthermore, homemade mangori may be healthier than those that are produced professionally. You can have a tasty snack without sacrificing your health if you limit the amount of oil you use to fry and choose healthier alternatives like baking or air-frying. Mangori is not only delicious but also nutrient-dense due to its primary ingredient, besan, which is an excellent source of both protein and dietary fiber. Ingredients for Homemade Mangori Key Ingredients Besan (Gram Flour) Chickpea flour is used to make besan, the main ingredient. It provides a rich, nutty flavor and a silky texture as the foundation of the mangori batter. Spices Turmeric: Imparts a bright yellow hue and a flavorful, earthy warmth to the mango. Red Chili Powder: Adds a kick of spice that you can modify to suit your palate. Cumin Seeds: Enhances the other spices with a light, fragrant flavor. Oil for Frying For mangori to be crispy without dominating the tastes, it is best to cook them in a neutral oil such as vegetable or canola. Optional Ingredients for Variations Dried Fenugreek Leaves (Kasuri Methi): Adds an aromatic flavor that is somewhat bitter. Sesame Seeds: Gives off a little crunchy and nutty flavor. Other Herbs and Spices: Try experimenting with various ingredients for more taste variations, such as chopped green chilies, coriander seeds, or even garlic powder. Tools and Equipment Needed Mixing Bowls Crucial to the formation of a smooth, uniform batter by blending and mixing the elements. Spoons and Spatulas Practical for mixing the batter and making sure everything is thoroughly mixed in. Frying Pan or Deep Fryer Cooking the mangori pieces until they are golden crisp requires a deep fryer or a deep frying pan. Strainer or Paper Towels for Draining Place the Mangore on paper towels or a colander after frying to remove extra oil, keeping them crispy and low in oil. Preparation Steps for Homemade Mangori Preparing the Besan Mixture Sifting and Mixing Dry Ingredients First, transfer the besan (gram flour) into a big mixing basin by sieving it. In addition to ensuring a smooth batter, this helps to eliminate any lumps. Stir in the cumin seeds, red chili powder, and turmeric to make the besan. Incorporate any alternative components, such as sesame seeds or dried fenugreek leaves, right away. Blend the dry ingredients well to guarantee that the spices are distributed evenly. Adding Water to Form a Thick Batter Stirring constantly, gradually add water to the dry mixture. Water should be added gradually to prevent the batter from becoming overly liquid. Mixing continuously will produce a thick, smooth batter. When shaped into pieces, the consistency should be sufficiently thick without being overly rigid. Ensuring a Smooth and Lump-Free Consistency Work quickly to break up any leftover lumps in the mixture with a spatula or whisk. The batter ought to be uniformly smooth. To assist get the proper texture, let the batter sit for a few minutes so